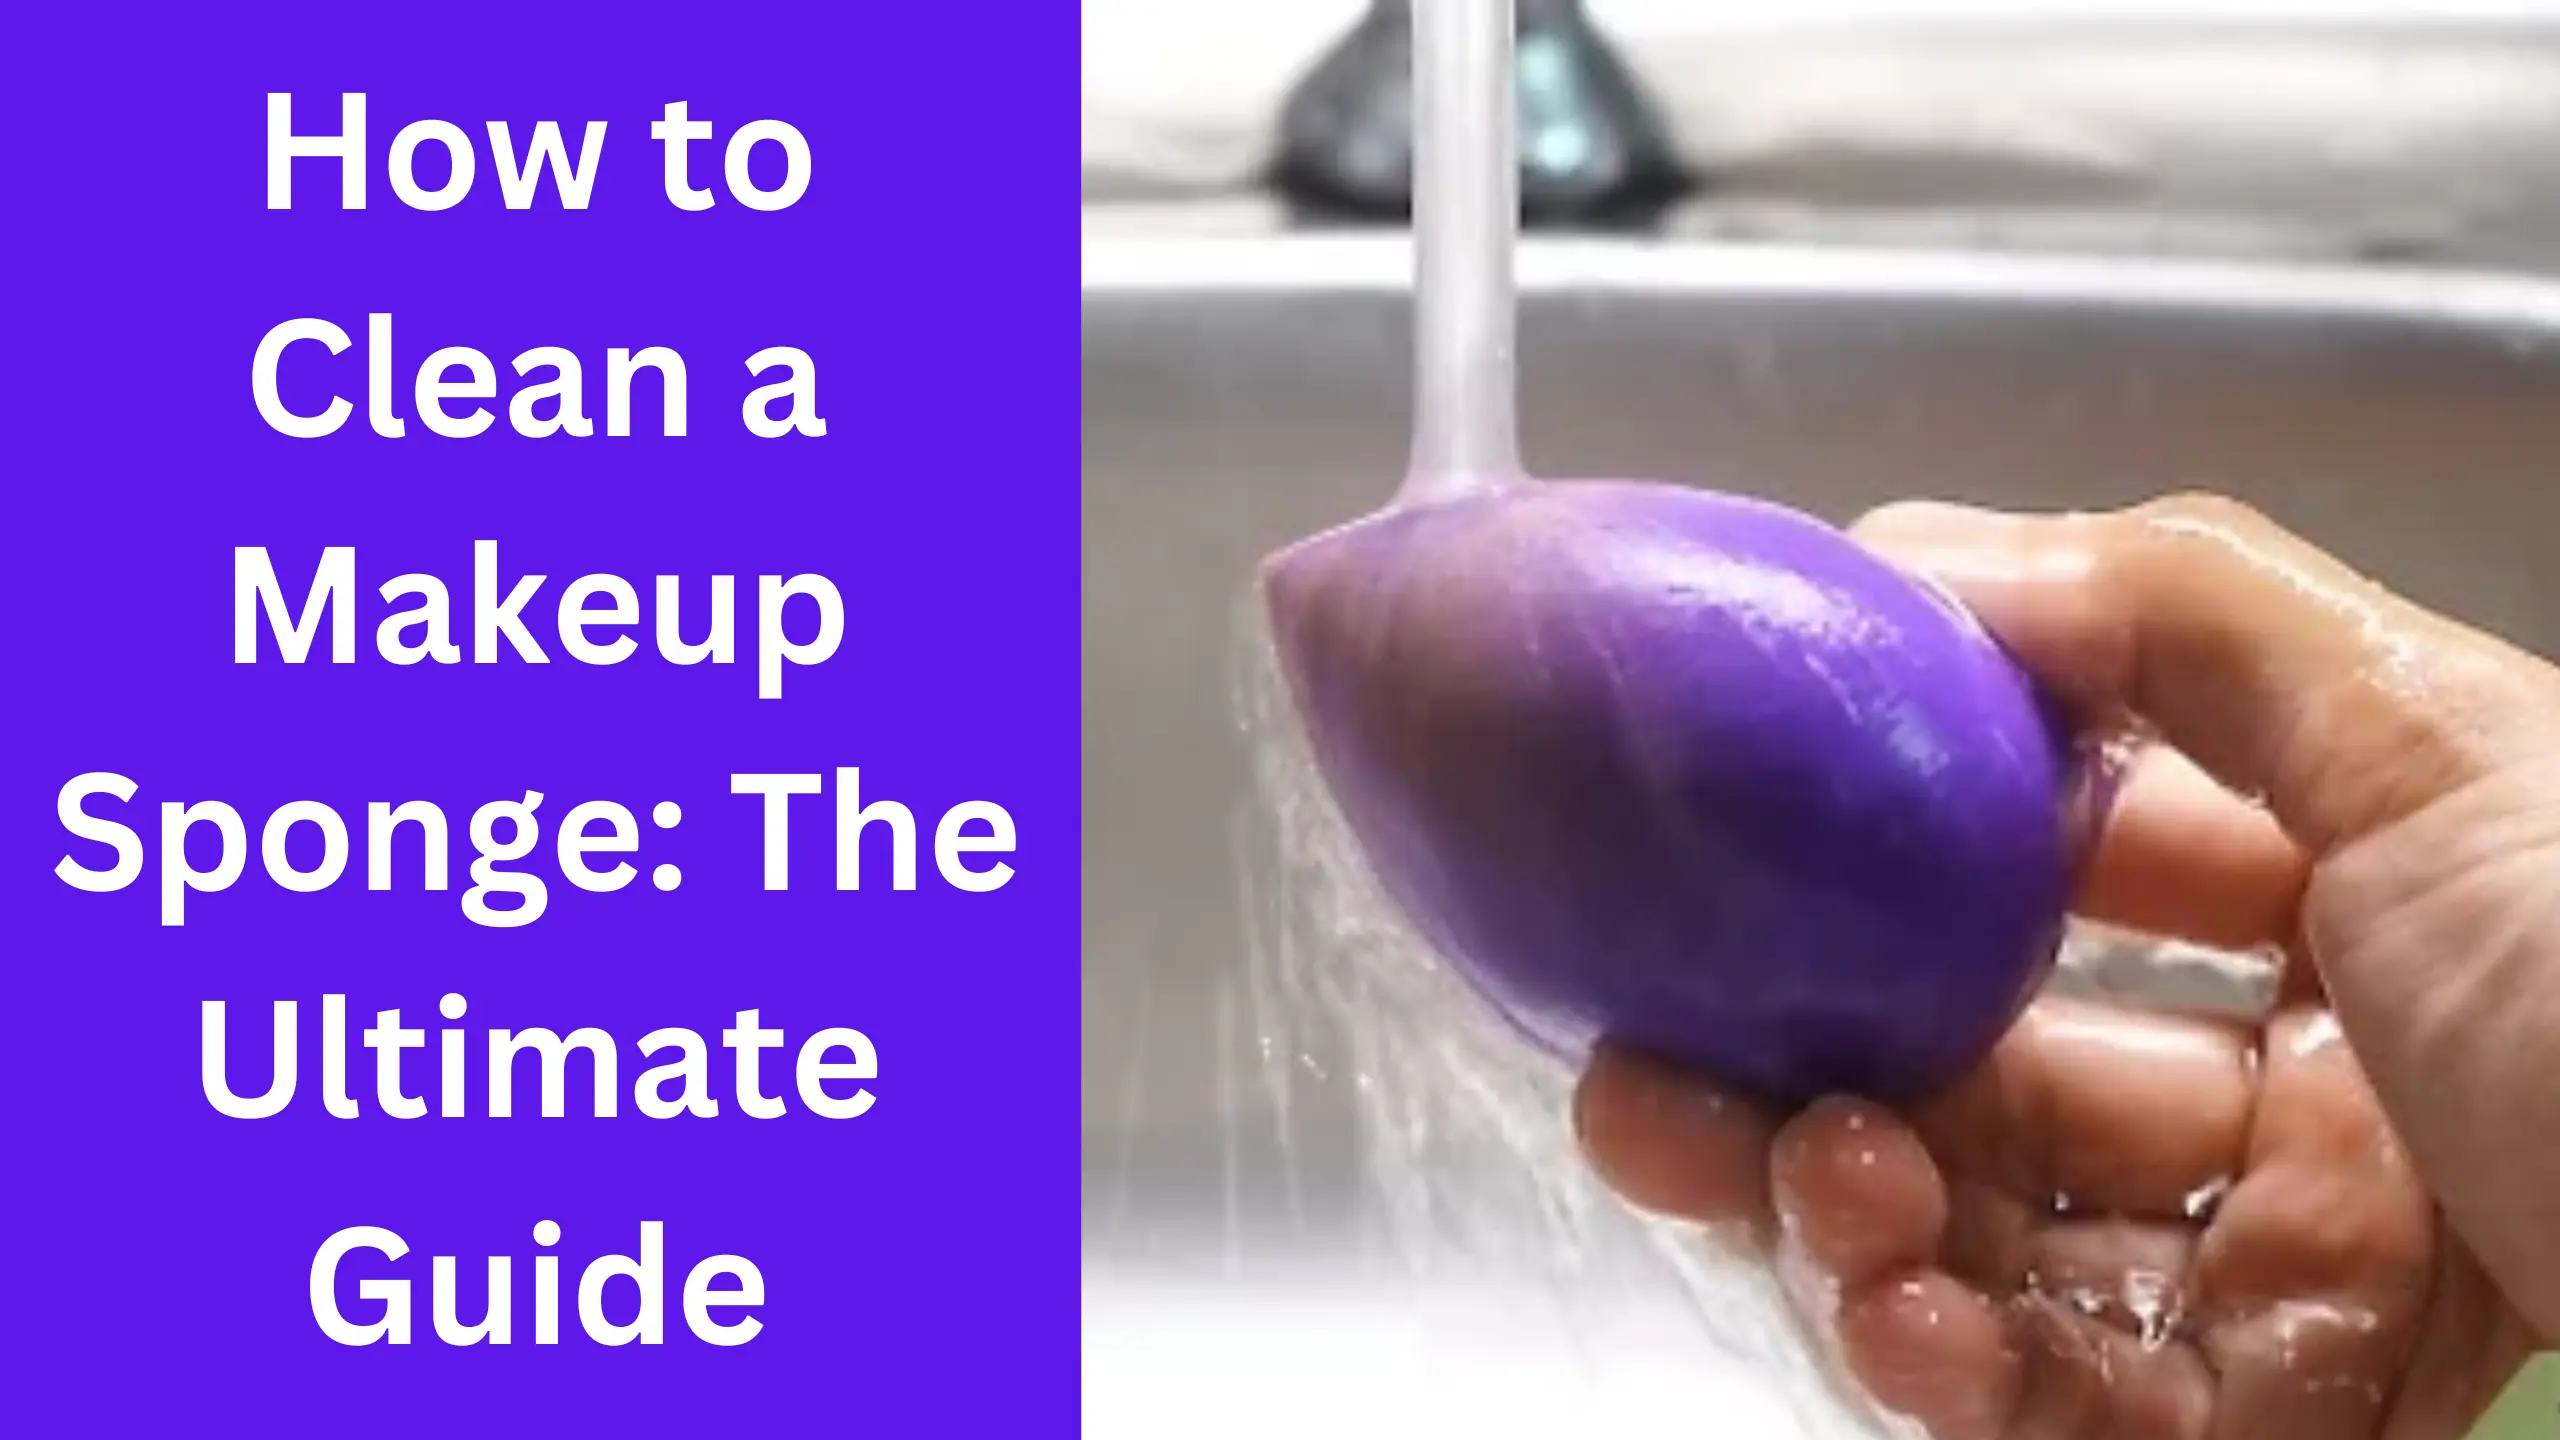
Makeup sponges are an essential tool for any makeup lover. They help apply foundation, blend concealer, and create a flawless look. However, using dirty sponges can lead to breakouts and can cause your makeup to look uneven. This article will go over how to clean a makeup sponge and keep it in top condition.
Why Cleaning Your Makeup Sponge is Important
Before we dive into the cleaning process, let’s talk about why it’s so important to clean your makeup sponge regularly. Over time, your sponge will accumulate makeup, oil, and bacteria. If you don’t clean it, these things can lead to breakouts and skin irritation. Additionally, a dirty sponge won’t perform as well as a clean one. It won’t blend your makeup as evenly, and it might even leave streaks.
How Often Should You Clean Your Makeup Sponge?
Now that you know why it’s important to clean your makeup sponge, let’s talk about how often you should be doing it. Ideally, you should be cleaning your sponge after every use. However, we know that can be time-consuming and not always feasible. At the very least, you should be cleaning your sponge once a week. If you use your sponge every day, you might want to consider cleaning it more often.
Supplies You’ll Need
Before you start cleaning your sponge, you’ll need to gather a few supplies:
- A clean bowl
- Liquid soap or shampoo
- Olive oil
- Warm water
How to Clean Your Makeup Sponge
Now that you have your supplies ready, let’s get started:
Step 1: Wet Your Sponge
Start by wetting your sponge with warm water. You want to make sure it’s fully saturated before moving on to the next step.
Step 2: Apply Soap
Add a few drops of liquid soap or shampoo to your sponge. You don’t need a lot – a little goes a long way.
Step 3: Work the Soap In
Use your fingers to work the soap into the sponge. Make sure you get into all the nooks and crannies.
Step 4: Rinse
Rinse the sponge under warm water until the water runs clear. Make sure you get all the soap out.
Step 5: Repeat
If your sponge is really dirty, you might need to repeat steps 2-4 a few times until it’s fully clean.
Step 6: Dry
Squeeze out the excess water from your sponge and pat it dry with a clean towel. Don’t wring it out – this can damage the sponge.
Step 7: Condition
To keep your sponge in top condition, you can add a few drops of olive oil to it. This will help keep it soft and prevent it from drying out.
Other Tips and Tricks
Here are a few more tips to help you keep your makeup sponge in top condition:
- Store your sponge in a clean, dry place
- Replace your sponge every few months
- Use a different sponge for different products (e.g. one for foundation, one for concealer)
Conclusion
Cleaning your makeup sponge might seem like a chore, but it’s an essential part of your makeup routine. By following these steps, you can keep your sponge in top condition and avoid breakouts and skin irritation. Remember to clean your sponge regularly and store it in a clean, dry place. Happy blending!


